Keyboard Mech

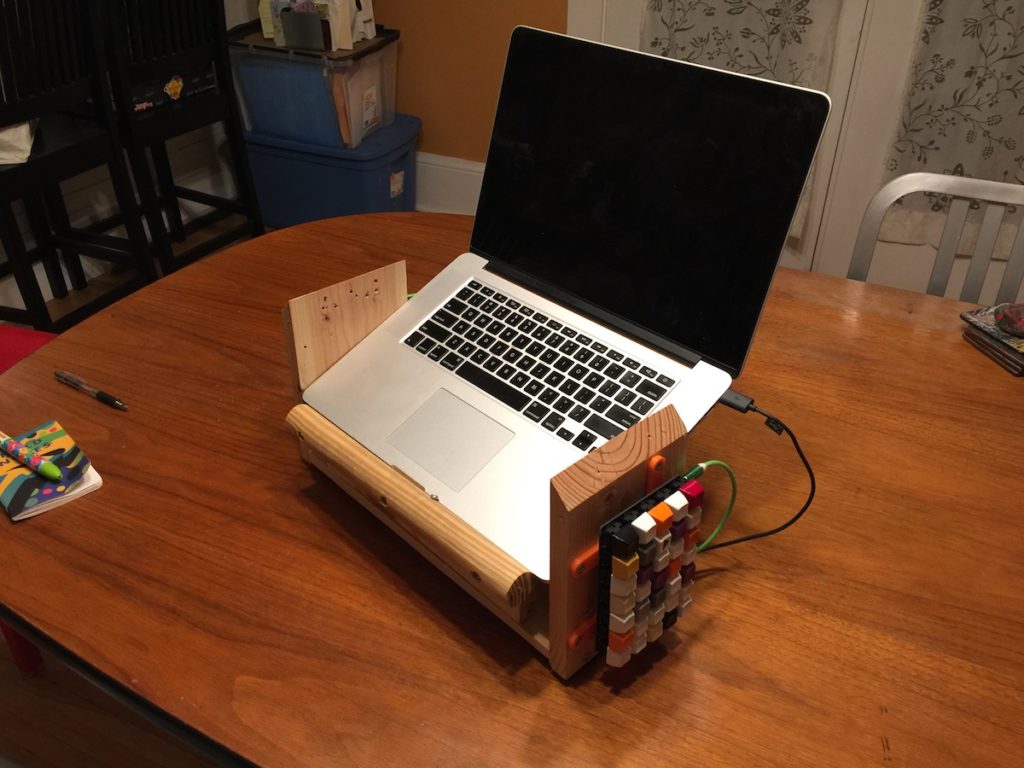
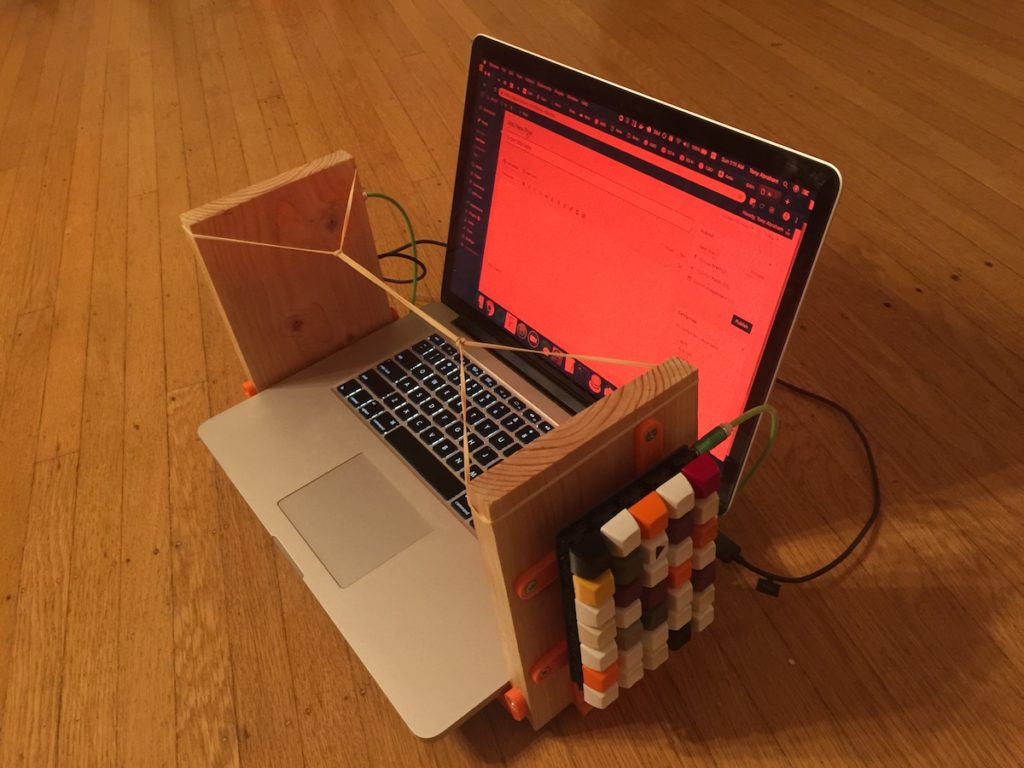
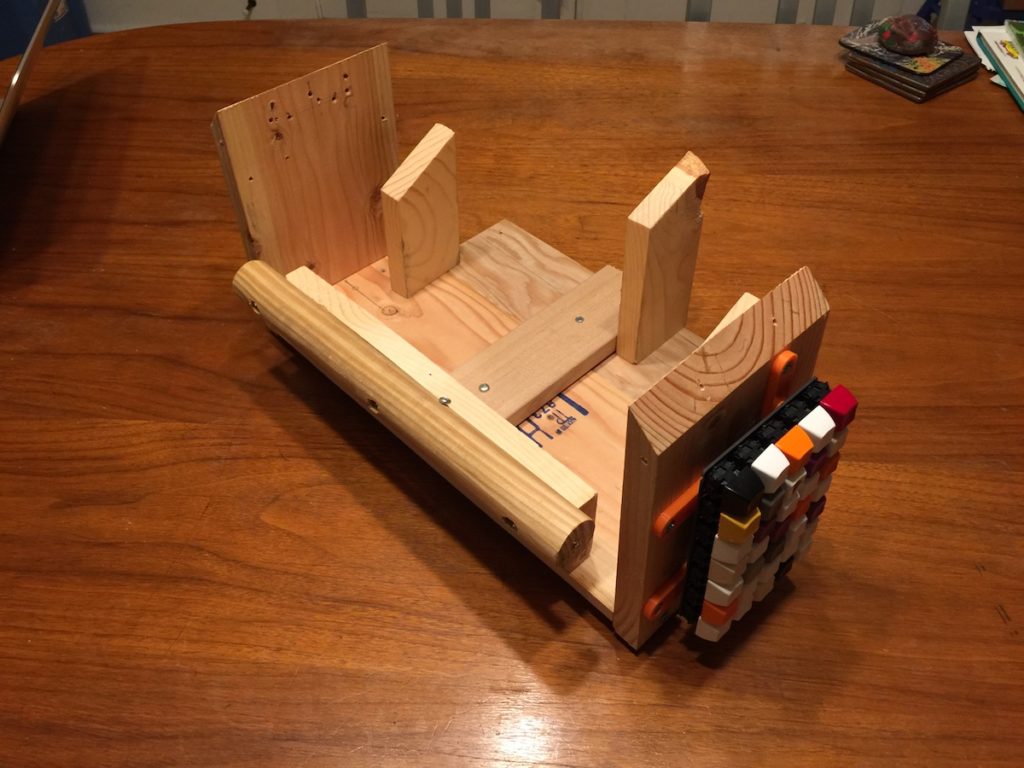
Today I made some decent progress on my next keyboard/laptop stand. I won’t tell you exactly what it is yet, but I’ve started calling it either Keyboard Mech, Carrying Desk, Walking Around Desk, Scrapwood Proton Pack, or other, stupider names which aren’t worth sharing.

There’s a lot left to figure out, and I really like to solve these problems as I assemble the piece. For example, how can I stabilize the laptop on a 2 x 2 wooden post, especially in wild situations? The laptop has a lot of downward weight on a thin panel, and I’d like to transfer it to another panel. Can I do that with an elaborate harness, or will I still need another belt to stabilize it? Can someone explain how I ever found a mate when I occupy my time with hobbies like this?

Much more to come, after I process these problems while I sleep. Except the last one. That one’s for you.
3D printing on the Ender 3

I’m working on a new keyboard project, and I’ve taken to 3D printing some of the brackets I’ll use to paste the thing together. Back in October I bought the Ender 3, a Chinese 3D printer known for its solid prints and low price point. It’s also known for its setup, which requires quite a bit of physical debugging. It took me a month of learning to properly tune it. It still needs some occasional upkeep. I haven’t used it for a few weeks, and I spent a lot of my free time today getting it back up and running right. That’s what you get for a sub-$200 3D printer, and I’m fine with that.

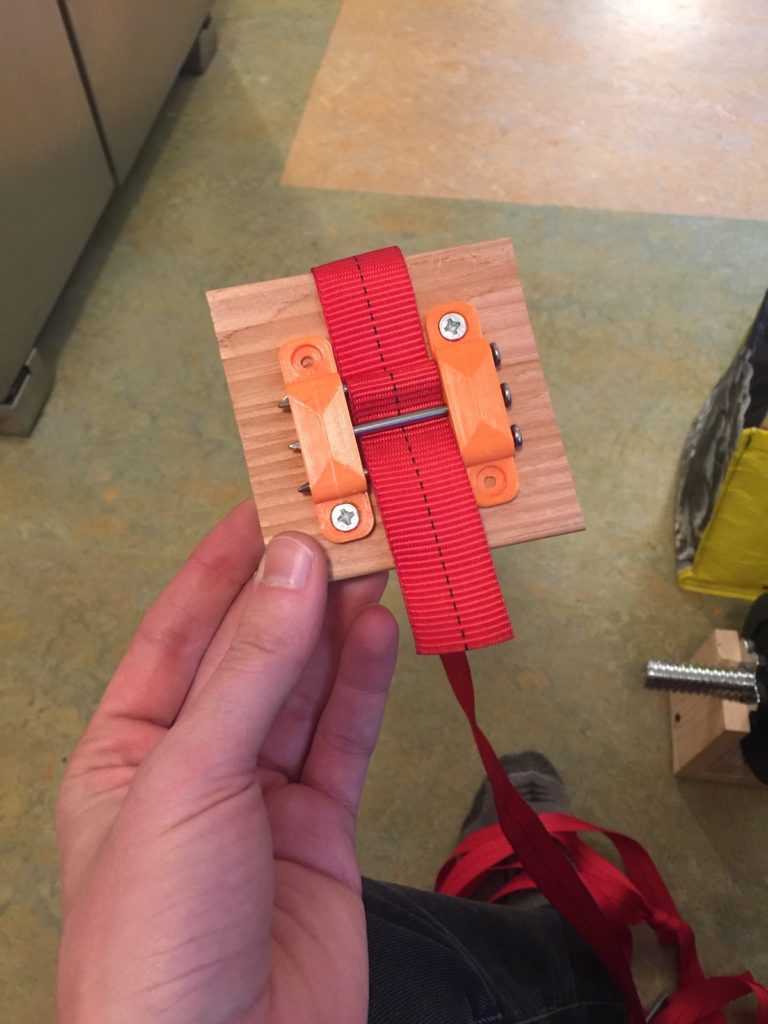
I’ve 3D printed a few brackets for that earlier keyboard project, and I’m generally impressed by their strength. I know 3D prints tend to be weak, but for my use cases, I’m finding them more than adequate. Here’s a POC filament/nail bracket I worked up. This should be the final design.

A 3D printed bracket affixed to wood.

Don’t overthink this

Today I disassembled the foldable keyboard prototype that I posted about a few days back. I wasn’t using it, and in truth, it was an over-engineered design. It was a keyboard with  three different layouts, and really only one layout that interested me—the vertical one—and in practice, it didn’t do that well either. It was wobbly and that rubberband’s placement was pretty annoying. No worries, though. The benefit of building things quick and mean is that you can tear them down just as quickly and start fresh.

Which brings me to my next prototype: the pedestal.

A scrap wood laptop base

Your first impression is probably: “did he buy that or make that?” The answer is that I built this puppy with pieces of scrap wood and my Viterbi keyboard. It’s likely a self-explanatory photo, but here’s one with the laptop installed just in case.


A scrap wood laptop stand with a laptop installed.

As you can see, this stand orients my keyboards vertically (and permanently) and elevates my laptop so the top of the screen is closer to my eye level, which is the ergonomically prescribed position. This stand is also portable enough that I can take it from my work-at-home desk to my work-at-home armchair, while only adding maybe 65 lbs to my lap. 65 or 6.5. I’ll get the scale and give you an exact answer when my legs get their feeling back.

So far, I’m actually using this prototype, which is winning out over the last one. I’ll let you know if I keep that up, or if I add any changes to it. Also, I’ve been keeping up yoga for these past few days, which is another win for new habits. I’m still falling asleep on the couch, though.

Bending Over Forward For Our Computers

A laptop with a homemade vertical keyboard.

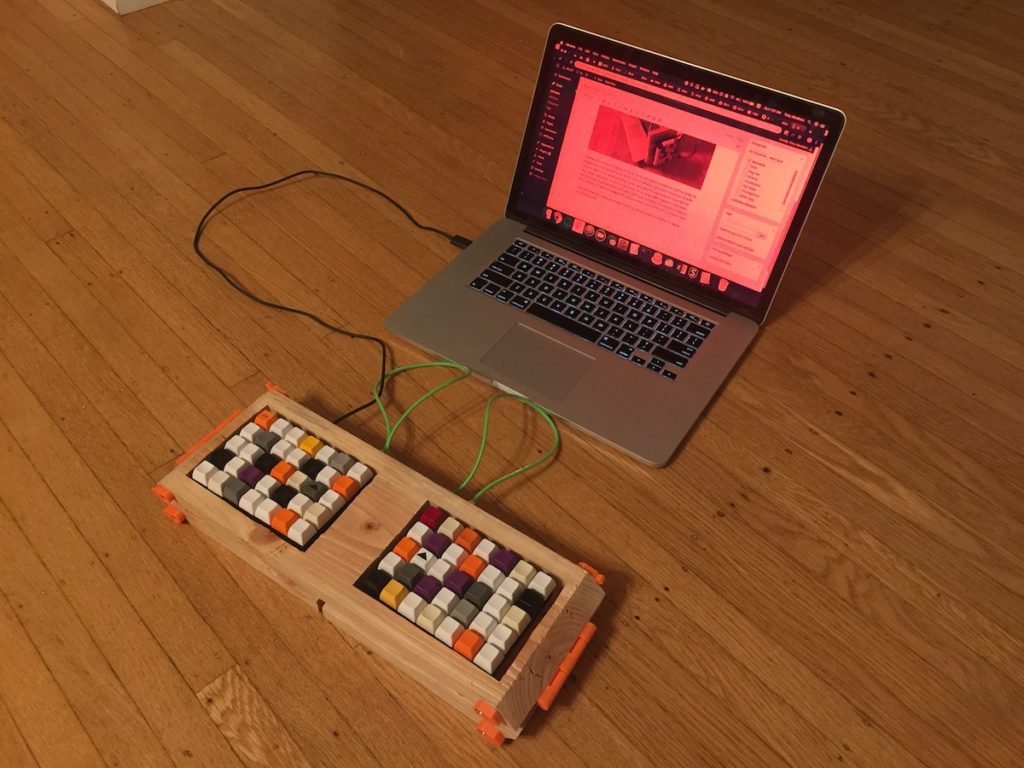
I spend a lot of time in front of a computer for my job and in my free time, and I’m pretty obsessed with ergonomics and movement. I’m worried that a generation of people will suffer in the longterm from repetitive stress injuries developed through years of hunching over their laptop keyboards. I have a couple videos on youtube outlining some of the experiments I’ve run in split keyboard placement, and the picture above represents my first portable design. I’ll outline my thought process and construction of this one in a future video.

The rubber band is functional and aligns with my signature aesthetic theme of “middle school shop class”.

A split keyboard with a rough plywood base